From Prose to Webtoon — The Full Journey of Turning a Web Novel into a Vertical-Scroll Webtoon with StoryMaker
Co-writing a 20-episode, 90,000-character web novel with AI, analyzing each episode into an 18–50 panel storyboard, rendering the art, overlaying speech bubbles, and exporting a vertical-scroll webtoon — the entire process, documented step by step with screenshots.
Written by — ONE AI Labs
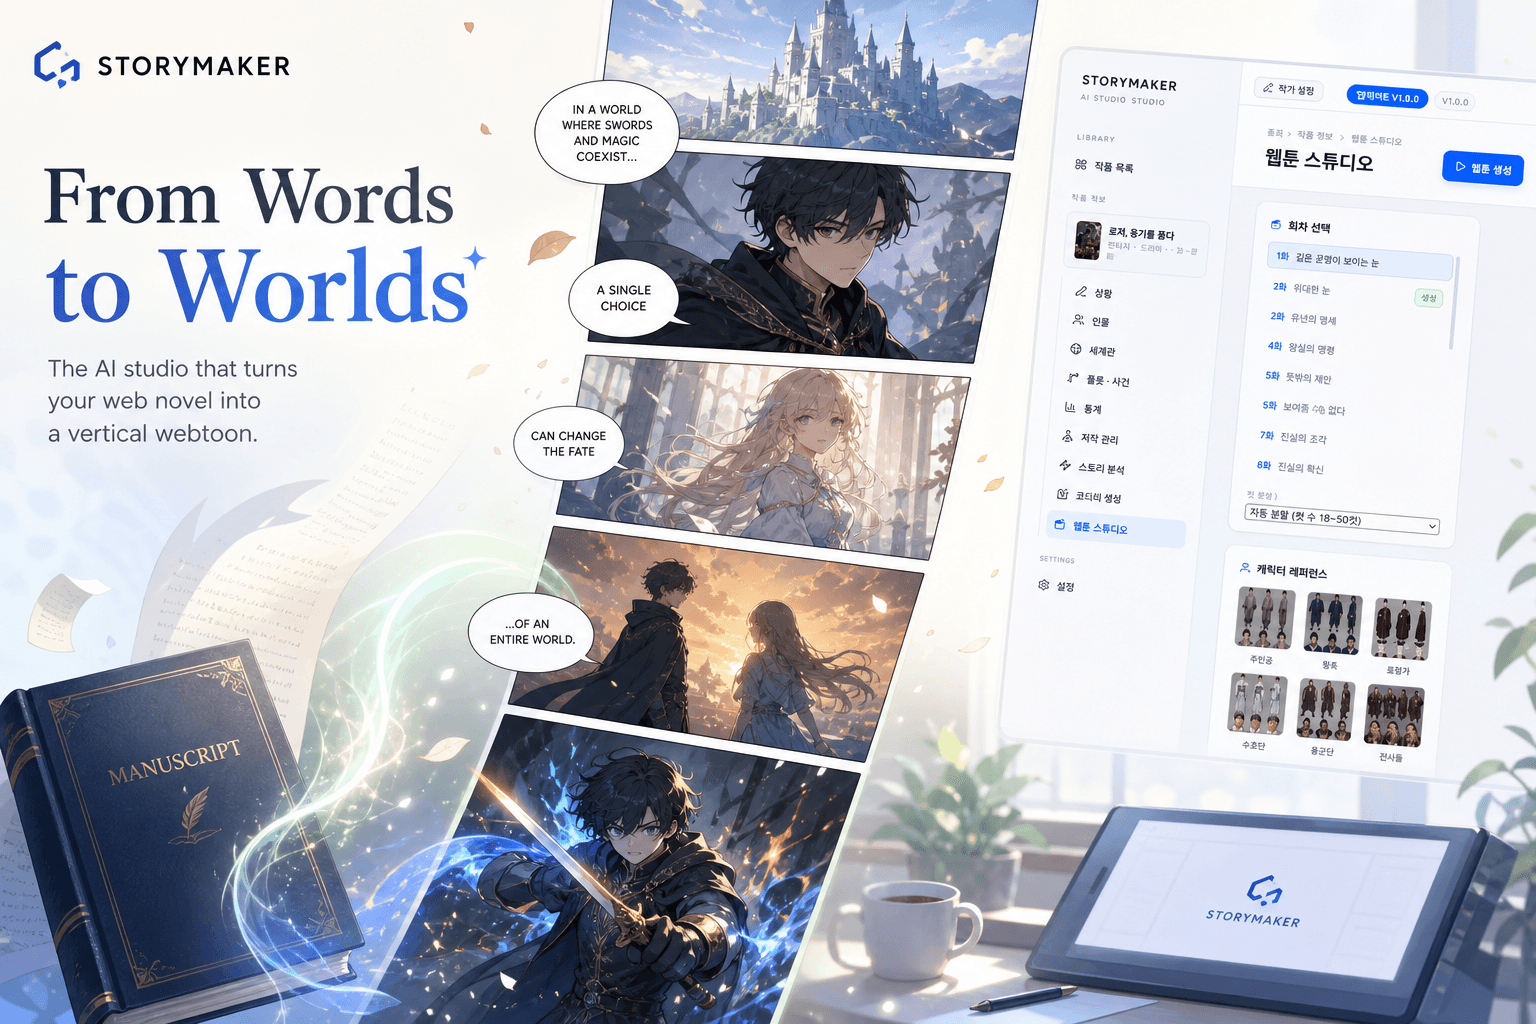
A webtoon normally takes a team: a writer, a storyboard artist, line art and coloring, and lettering. We wanted to know whether one piece of software could replace that entire team. So we designed an experiment — using only StoryMaker, with zero hand-drawn art, turn a web novel into a finished vertical-scroll webtoon. This post is the full record of that experiment.
StoryMaker is a macOS desktop app built on Wails v2 + React 19. Writing editor, character/worldbuilding/plot/foreshadowing management, storyboard analysis, image rendering, speech-bubble overlay, and webtoon export — every stage between prose and webtoon lives in one app. All data stays in local SQLite, and AI calls route through OpenRouter, picking the right LLM (Claude and others) per task.
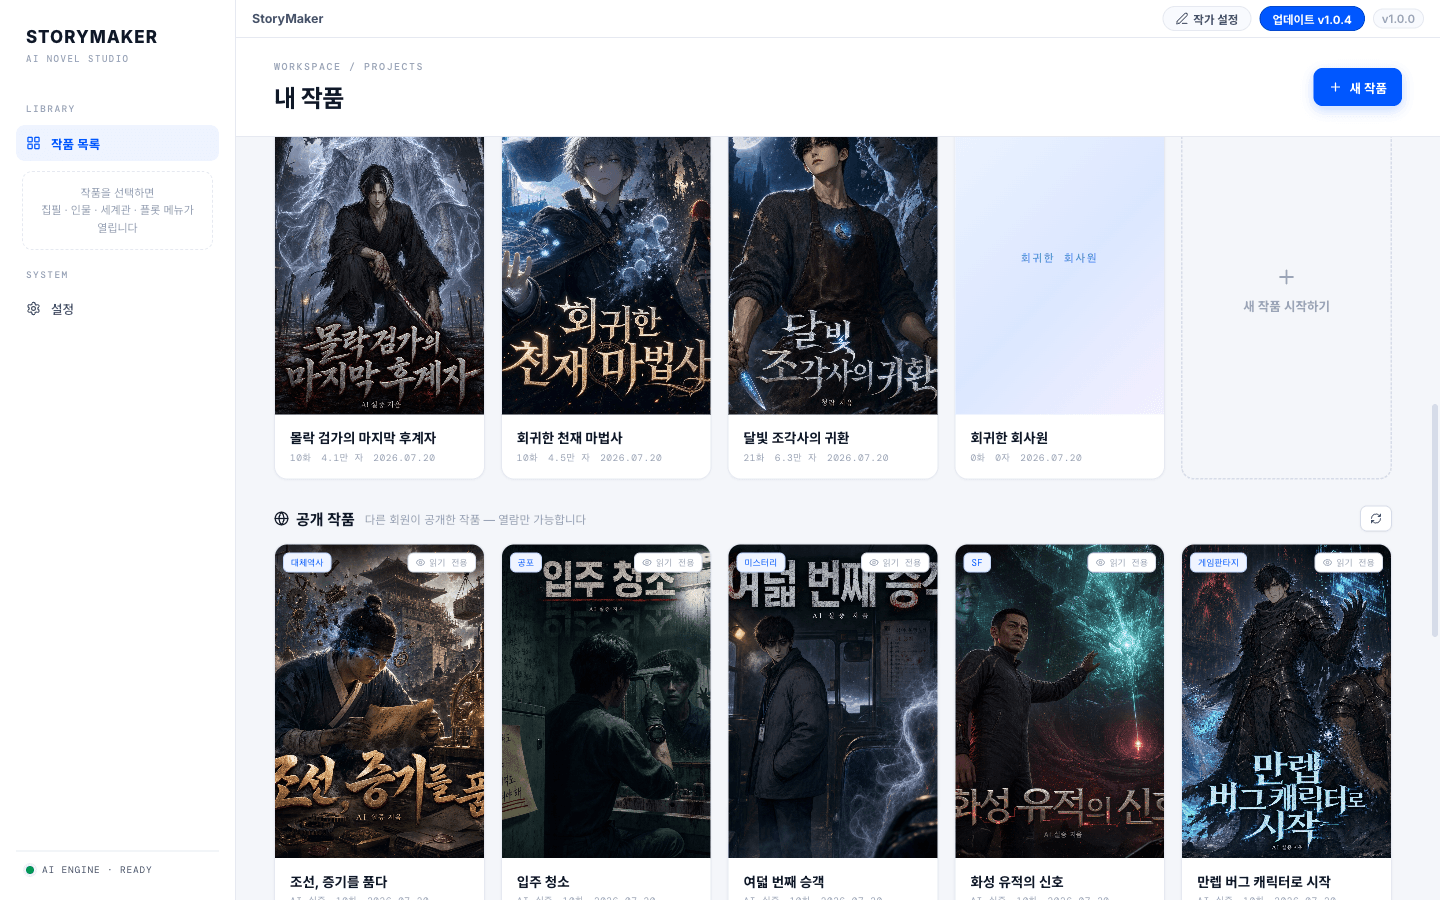
Step 0 — The library: where works live
Everything starts in the library. Each work is a project, and episodes, characters, worldbuilding, storyboards, and rendered output all hang off it. For this experiment we created a new work — a modern fantasy tentatively titled *The Returned Researcher Solves Magic with Engineering*. Every screenshot below is from the actual production of this work.
Step 1 — Worldbuilding and characters: plant consistency first
Before writing a single line, we registered the world and the cast. The order matters: in StoryMaker, characters, worldbuilding, plot, and foreshadowing aren't notes — they're structured context injected into both writing and storyboard analysis. The protagonist's appearance description later becomes the character sheet for rendering, and the world's rules act as guardrails that keep the writing AI from breaking canon.
- Characters — name, role, personality, speech patterns, and appearance. The appearance field anchors character consistency during rendering, so we specified hair color, outfit, and build in detail.
- Worldbuilding — the rules of the magic system, era, and key locations. We wrote the rules as clauses, not prose, because violations by the writing AI show up immediately.
- Plot & foreshadowing — the 20-episode arc and per-episode payoff points. The foreshadowing board tracks where each seed is planted and where it's due to pay off.
Step 2 — Writing: 20 episodes, 90,000 characters, with AI
Writing proceeds episode by episode: draft the plot summary, ask the AI for a first draft, then point at paragraphs and have them rewritten. Scenes where voice consistency mattered went to Claude-family models; scenes needing fast idea branching went elsewhere — being able to switch models mid-episode via OpenRouter turned out to be the single most useful thing in practice.
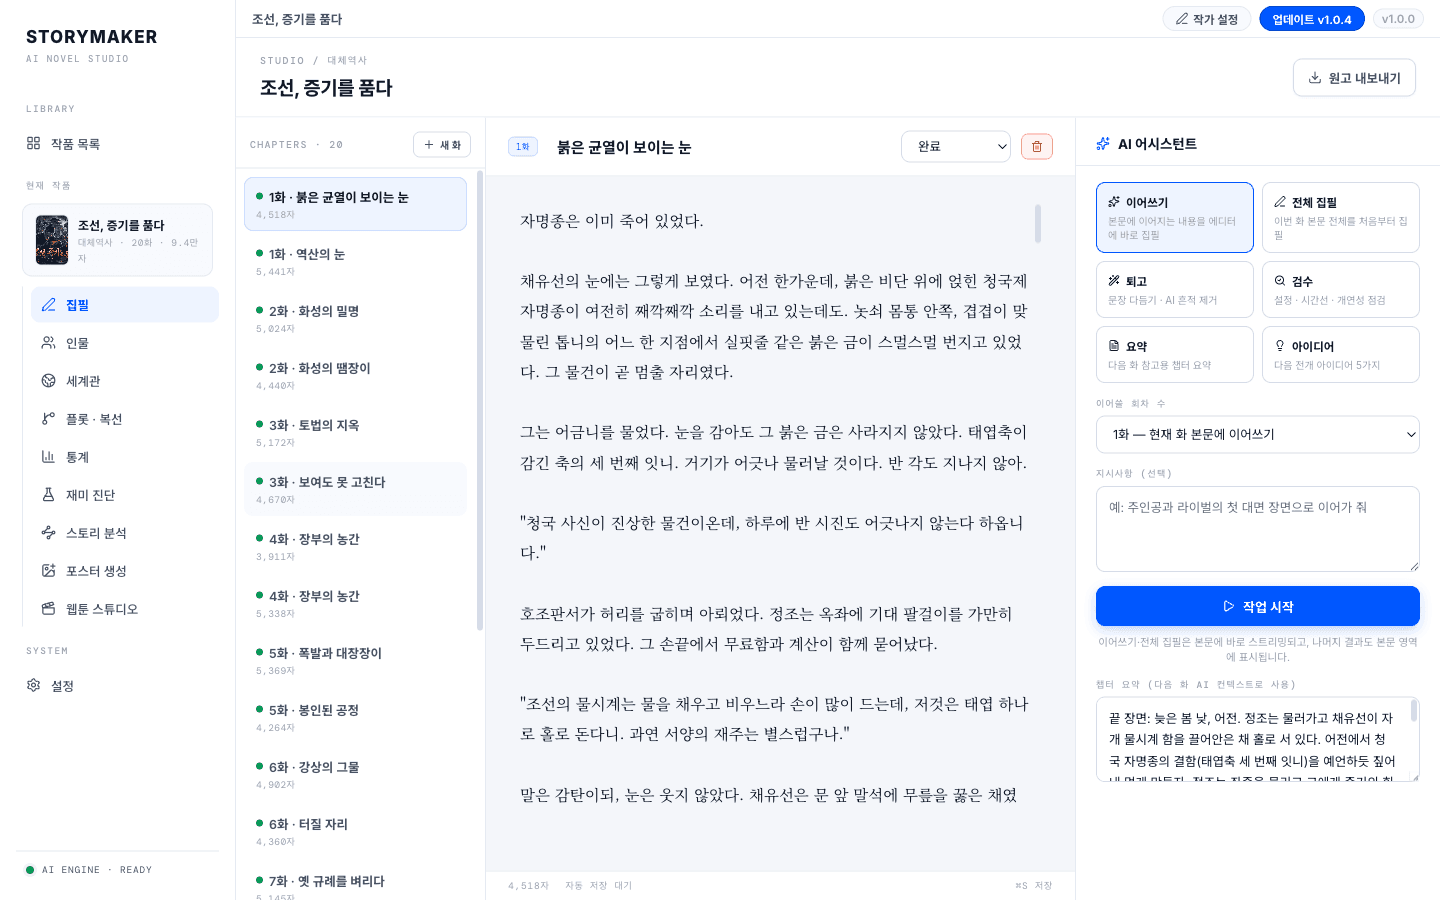
Filling 20 episodes took about three days. What took longer than the writing itself was fun diagnostics. StoryMaker's story analysis charts per-episode tension curves, dialogue ratios, and cast balance. When it flagged a tension dip in episode 7, we moved an event forward — and later, at the storyboard stage, that decision showed up as a visible difference in panel density. The rhythm of the prose becomes the rhythm of the webtoon.
Step 3 — Storyboard analysis: one episode becomes 18–50 panels
This is where StoryMaker's real engine kicks in. Hit Analyze Storyboard on an episode, and the AI reads the whole text, splits it into scenes, and produces a per-panel specification. Panel count is decided automatically between 18 and 50 depending on episode length and event density. Each panel carries structured data:
- Scene description — the visual spec that seeds the rendering prompt: cast present, background, time of day, and camera framing (close-up, wide, overhead).
- Dialogue & narration — lines extracted from the prose, plus narration summarizing stage directions. Each line is typed: whose bubble, thought or shout.
- Sound effects — SFX text like *THUD* with placement hints.
- Mood — a tone tag per panel, feeding both rendering style and bubble shape selection.
{
  "cut": 12,
  "shot": "close-up",
  "scene": "Underground lab; the protagonist leans over a glowing blue magic circle, diagrams reflected in his glasses",
  "characters": ["Lee Dohyun"],
  "dialogue": [
    { "speaker": "Lee Dohyun", "type": "thought", "text": "The mana decay curve… it isn't exponential" }
  ],
  "narration": "For the first time, ten years of regression meant something",
  "sfx": [{ "text": "hmmm──", "hint": "around the circle" }],
  "mood": "tension-discovery"
}
Storyboard quality isn't judged by eye alone. StoryMaker ships with a storyboard quality harness that scores dialogue loss rate (did every line make it into the board?), scene coverage (any dropped events?), and panel-density balance. In this experiment, 3 of 20 episodes failed the first pass and were re-analyzed until they cleared.
Step 4 — Rendering: the storyboard becomes art
Once the storyboard is locked, each panel's scene description compiles into an image-generation prompt — and the character appearance specs from Step 1 are auto-injected into every panel's prompt. That's what prevents the protagonist from having silver hair in panel 3 and black hair in panel 15. Mood tags translate into lighting and color direction: tension panels gain contrast, slice-of-life panels gain saturation.


Rendering a 30-panel episode takes a few minutes. Some panels fail, of course — a composition that misses the description, a character drifting off-spec — and those are re-rendered individually, not by re-running the whole pipeline. Across all 20 episodes, the re-render cost stayed refreshingly small.
Step 5 — Lettering: speech bubbles, narration, and SFX overlays
Lettering — placing text over art — is one of the most labor-intensive stages of webtoon production. StoryMaker auto-places bubble positions and shapes from the storyboard's dialogue spec: round bubbles for speech, cloud bubbles for thoughts, jagged bubbles for shouts — the dialogue types assigned at the storyboard stage map directly to bubble styles. Narration becomes boxes at the top or bottom of a panel; SFX are composited as styled text following their placement hints.
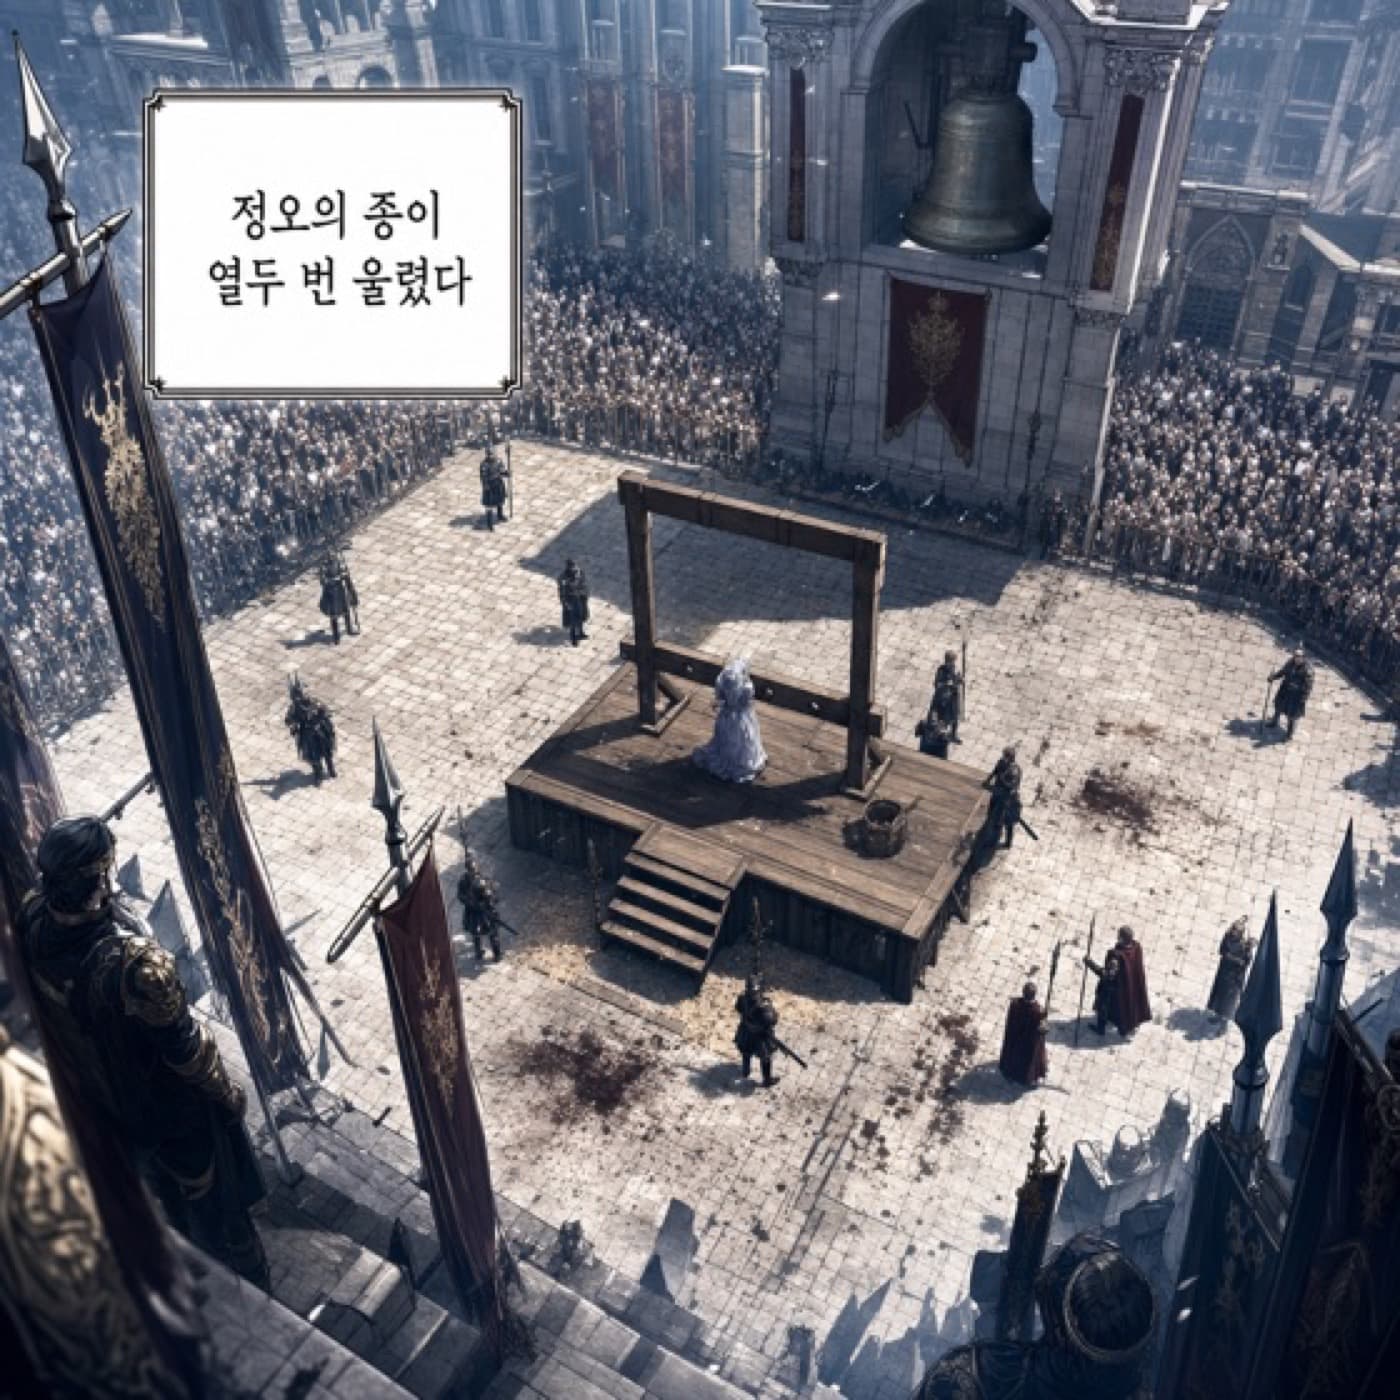
Auto-placement covers a face maybe two or three times per episode. When it does, you drag the bubble in the editor and you're done. Across the entire pipeline, this bubble nudging was where human hands intervened most — and it still amounted to a few minutes per episode.
Step 6 — Export: the vertical-scroll webtoon
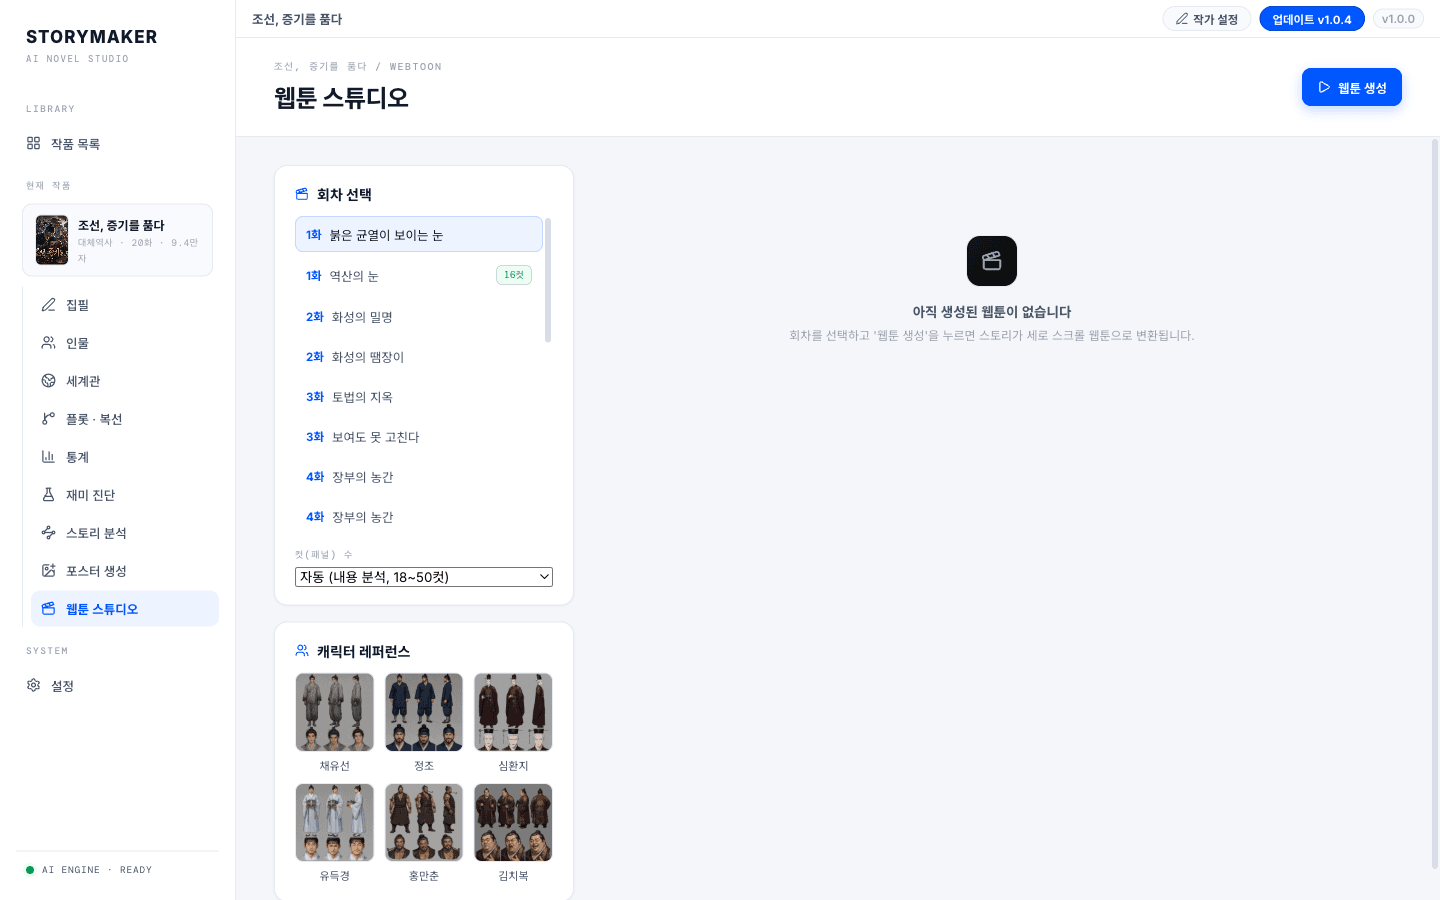
With lettering complete, the episode exports as a vertical-scroll webtoon HTML. Gutter spacing between panels varies with transition strength — consecutive panels in one scene sit close together, while jumps in time or place get wide gaps. In vertical scroll, whitespace does the pacing work that page turns did in print comics. The output is a single HTML file that opens in any browser, making sharing and review trivial.
Results — and honest limits
The result: all 20 episodes of the web novel became per-episode vertical-scroll webtoons. Human work consisted of plot design, editing AI drafts, storyboard review, and bubble nudging. Not a single image was drawn by hand. The structure — one writer producing the output of a webtoon studio — actually works.
The limits deserve honest documentation, too. Continuous action sequences spanning multiple panels can still produce awkward motion flow between cuts, and in crowd scenes, supporting-cast consistency isn't as solid as the leads'. Both are being addressed by adding motion-continuity data to the storyboard spec.
Technical architecture — why Wails v2 + SQLite
The biggest design question early on was data sovereignty. A writer's manuscript, character sheets, and unpublished plot can't live in the cloud. Go + Wails v2 solves this: AI calls go over the network, but the manuscript and all metadata stay in local SQLite — never leaving the machine.
-- Root entity: one work per project
CREATE TABLE works (
  id        TEXT PRIMARY KEY,  -- ulid
  title     TEXT NOT NULL,
  genre     TEXT,
  created_at INTEGER NOT NULL
);

-- Episode: prose (content) + AI-generated storyboard (storyboard_json) co-located
CREATE TABLE episodes (
  id           TEXT PRIMARY KEY,
  work_id      TEXT REFERENCES works(id),
  episode_no   INTEGER NOT NULL,
  title        TEXT,
  content      TEXT,            -- raw manuscript
  storyboard_json TEXT,         -- JSON array of panel specs
  render_status TEXT DEFAULT 'pending'
);

-- Characters: appearance description auto-injected into render prompts
CREATE TABLE characters (
  id          TEXT PRIMARY KEY,
  work_id     TEXT REFERENCES works(id),
  name        TEXT NOT NULL,
  appearance  TEXT,  -- the anchor for image generation consistency
  personality TEXT
);
SQLite is sufficient because the read pattern is simple: 'list all characters for this work' and 'load previous episode storyboard' — both are trivial SELECTs with no concurrency pressure. The real advantage is portability: the entire creative project is a single file, copyable with cp StoryMaker.db.
LLM selection strategy — different models for different tasks
This experiment mixed three models via OpenRouter. Using 'the best model' everywhere isn't the goal — cost and latency tradeoffs matter too.
- Claude Sonnet (writing & editing) — scenes that need stylistic consistency and literary expression. Best quality-per-cost in our testing. The primary workhorse of this experiment.
- Gemini Flash (storyboard analysis) — ingests 10,000+ character episodes in one pass and outputs structured JSON. The large context window and fast throughput make it ideal here.
- Qwen2.5 72B via OpenRouter (ideation) — plot branching, foreshadowing ideas — tasks that need many quick drafts. Low latency for fast feedback loops.
Traditional production vs StoryMaker — the numbers
Using the same 20-episode web novel IP as a baseline, here's how traditional team production compares to this StoryMaker experiment. AI output and the work of a skilled artist aren't directly comparable on 'quality' — what we're measuring is the resources needed to produce a first draft ready to share with the world.
On cost: OpenRouter API spend for this experiment was approximately $23 USD — 20 episodes of writing plus storyboard analysis including three re-analyses. Image generation APIs add another $30–50 for all 20 episodes combined. On a platform serialization deal, the first episode advance covers the investment.
The storyboard quality harness — AI grading AI
After storyboard analysis, the quality harness runs automatically. It doesn't just check 'are there 18+ panels' — it presents the original prose and the storyboard to an AI judge, which scores on three axes:
- Dialogue loss rate — is every line from the manuscript present in the storyboard? One missing character line is -10 points.
- Scene coverage — are all narrative beats represented as panels? Skipped events break reader context.
- Panel density balance — is action distributed appropriately against emotional beats? All-emotion episodes feel 'static' as webtoons.
Results are returned as a 0–100 score. In this experiment: 17 of 20 episodes cleared the 80-point threshold on the first pass, with 3 requiring re-analysis. On failure, the specific reasons (e.g. 'episode 7 climax: 2 dialogue lines missing') are injected into the next analysis pass as correction directives.
The distance between someone who has a story and someone who can make a webtoon out of it — that distance is what StoryMaker exists to close.
— ONE AI Labs
StoryMaker is open on GitHub, and one OpenRouter API key is enough to reproduce everything in this post. Our next experiment: handing finished episodes to RED STUDIO to push toward motion comics. The pipeline isn't done yet.